
Creating a fundraising page for an event with tickets!
Event registration is for fundraisers or events where you will be selling tickets and collecting registration information. Common examples include golf outings, fun runs, or school dances. Follow the steps below to get started creating an event registration page.
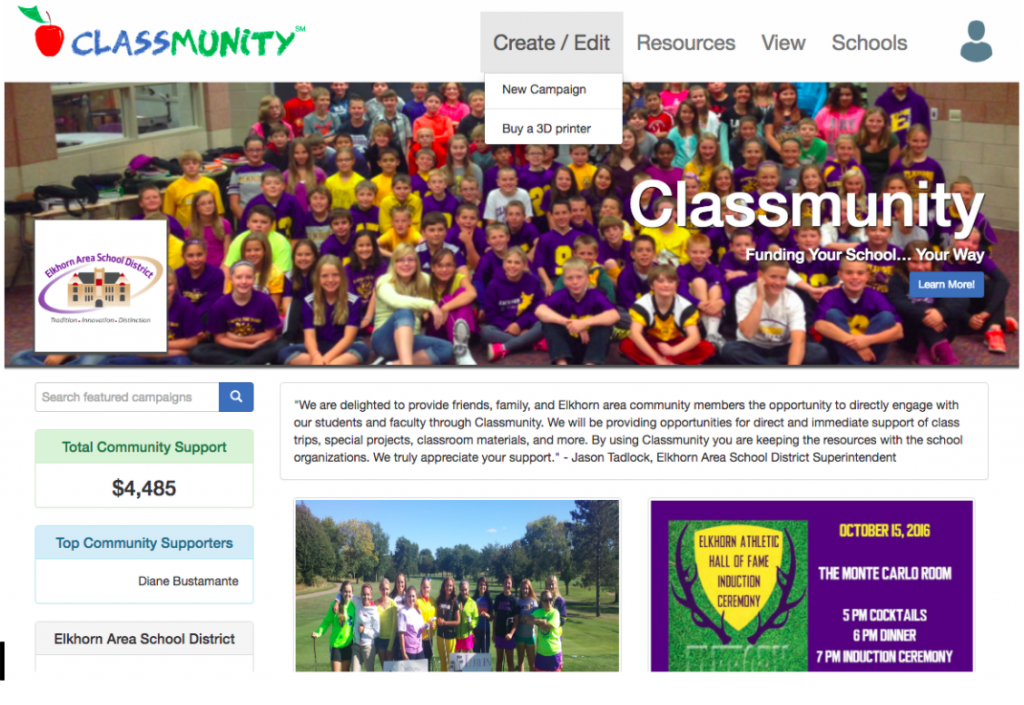
Step 1: Navigate to the Classmunity website and login using your district account. Then select ‘Create’ in the top menu.
After you have logged in as a teacher or administrator, you will be able to open the fundraiser creation wizard by clicking on Create/Edit in the navigation bar and selecting either New Fundraiser or the fundraiser you wish to edit.
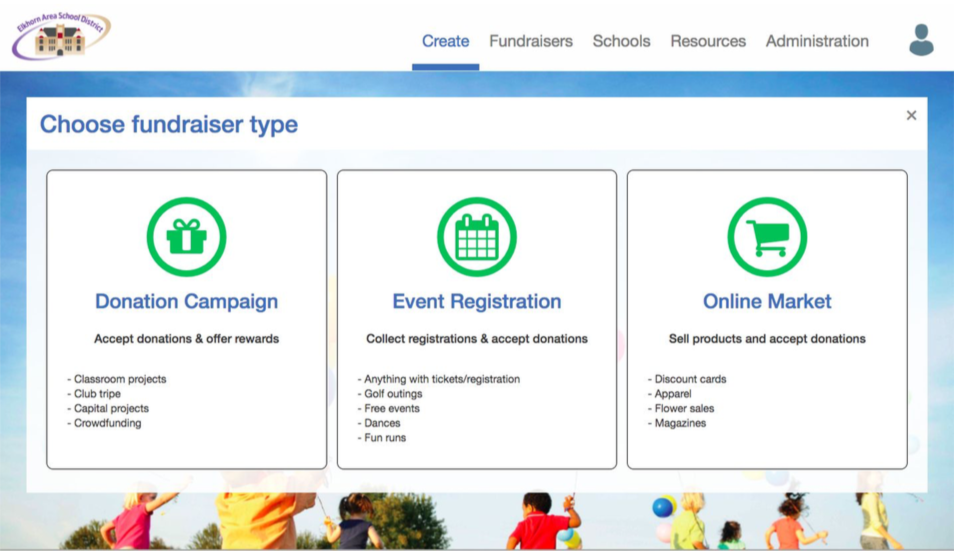
Step 2: Select ‘Event Registration’
Choose “Event Registration” from the three fundraising templates: Donation Campaign, Event Registration, Online Market.
Step 3: Enter your event details
Details for the event include its name, donation goal, time, date, location, and description. You can also select an image or video to accompany the event. As you fill out the event wizard, you will provide the name of the group or person who will be overseeing the fundraiser. Select the correct fund account for the credit card donations to be deposited into. If you have questions about which fund to select please contact your district office.
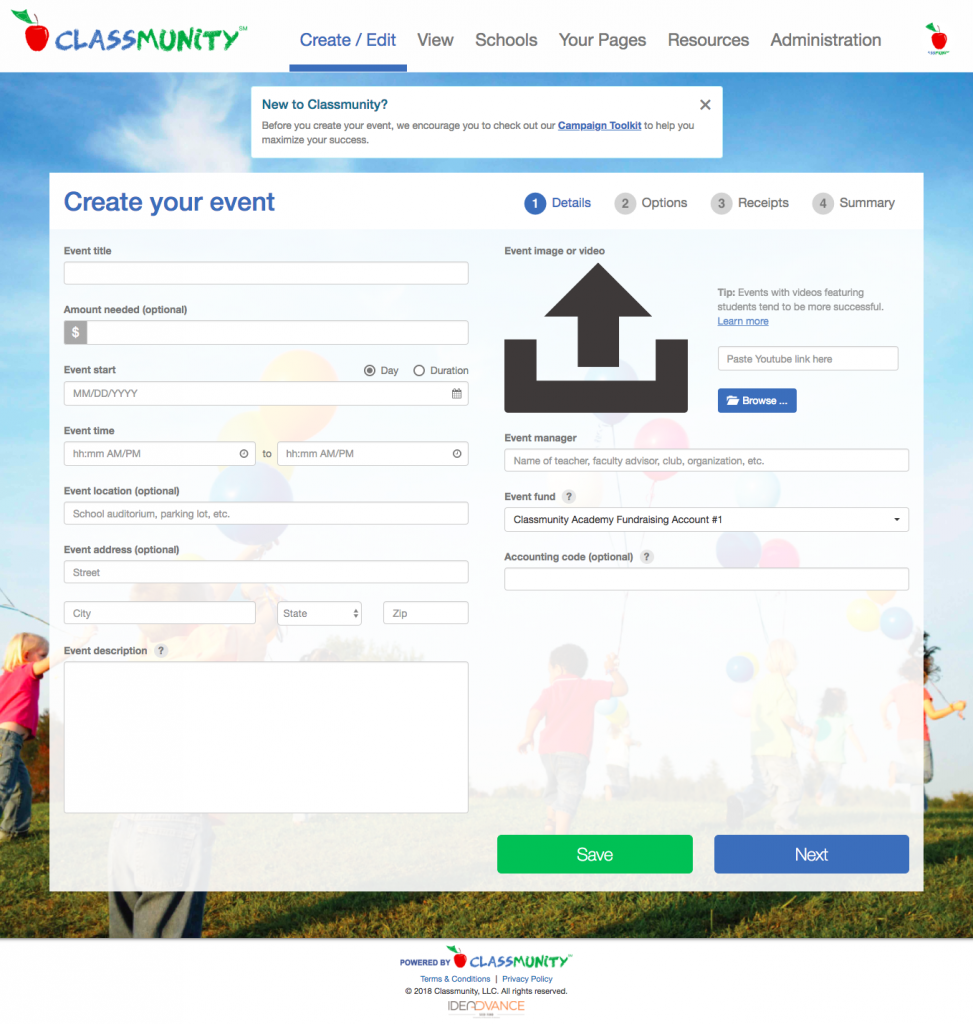
The first tab of the campaign creation wizard contains the following fields:
-
- Event Title – The name of your event.
- Amount Needed: Your fundraiser’s goal.
- Event Date – The date(s) of your event.
- Event Time – The time of your event.
- Event Location (Optional) – The location of your event such as a building name or room number.
- Event Address (Optional) – The address of your event’s location.
- Event Description – A description for the event containing pertinent event information.
- Event Manager: The person or group managing the fundraiser. If your fundraiser is being run by a booster club or student organization this is perfect place to mention the organization (e.g. “Women’s Soccer Team” or “High School Booster Club”).
- Event Fund: The bank account that all settled credit card donations will be deposited into on the first and fifteenth of the month. Bank accounts are registered by your district’s administrators through the classmunity admin panel.
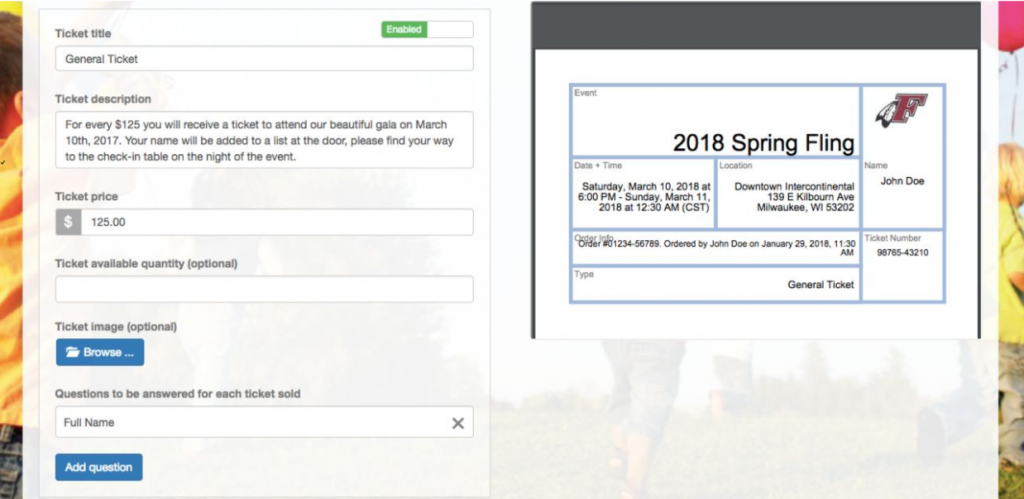
Step 4: Set up your custom tickets and order questions
In this step you will set up the tickets for your event. You have the option to specify a price for each ticket or to allow people to register for free. Ticket options include a title, description, image, price, quantity and any questions to be answered for each ticket purchased (e.g. Meal preference, T-shirt size).
You can also add questions at the order level (once per registration) so that they must only be answered once instead of for every ticket purchased, for example “How did you learn about this event?”
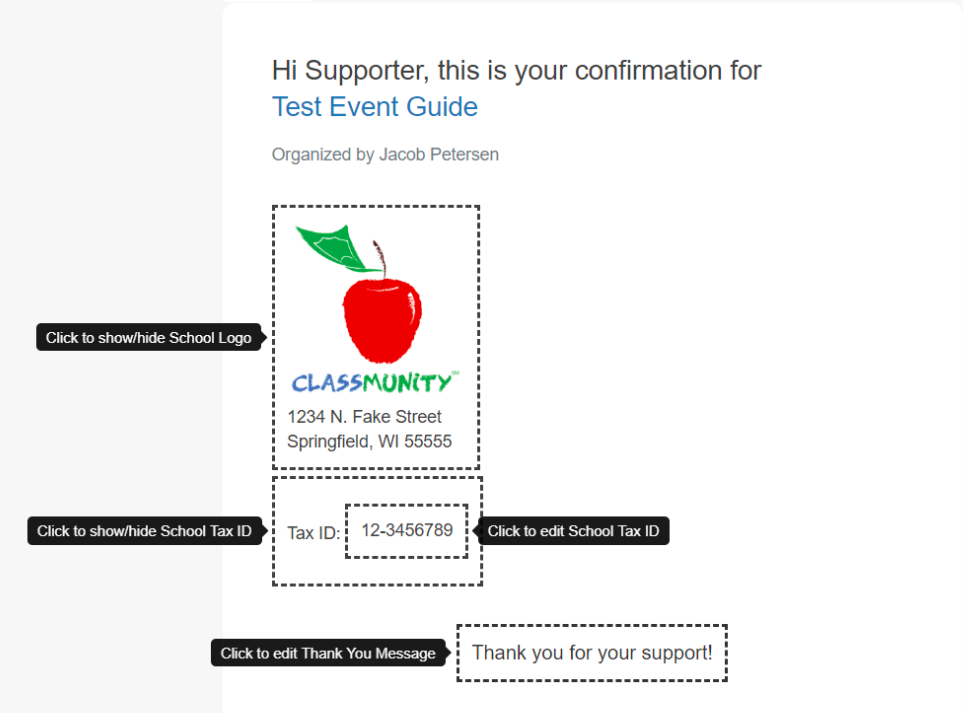
Step 5: (Optional) – Customize receipts for your supporters and review order summary
You have the option to customize a receipt for supporters of the event. These options include setting a thank you message, showing the school’s logo, and school tax ID. Below these options, there is a summary of the order and the details about the event to review everything is correct.
Step 6: Review privacy settings of the event and summary
Once you have completed the following steps, you can review your fundraiser before submitting it for review. You can also customize your campaign by adjusting the settings seen here for your needs.
The privacy settings allow you to control how much event information is shown to the public. For example, you may choose whether or not the funds raised for the event is publicly viewable. Additional settings include the following options:
-
- llow everyone to view campaign and make donations once approved.
-
- Email Settings (Optional) – Select this option to receive periodic email updates about the status of your campaign.
-
- Require Donors to Cover Processing Fees (Optional) – Selecting this option will require that credit card donations include credit card processing and Classmunity fees.
- Twitter Settings (Optional) – You can connect your Twitter account to automatically tweet campaign updates and provide thank you messages to your supporters.
- Recurring Month Donations (Optional) – You can allow donors to set up monthly recurring donations.
Review the details on the right hand of the screen and make sure they are correct. When ready, select ‘Submit for approval’ on the bottom right hand of the screen, and you are finished! The event is now pending review by Classmunity staff for approval. Your event may be approved, revised, or rejected by the administrator. Your administrator may also provide comments on the decision. This process should take a few days and once approved, your event will be live. You can view the status of the event by selecting ‘View’ from the top right menu on the homepage when logged in.
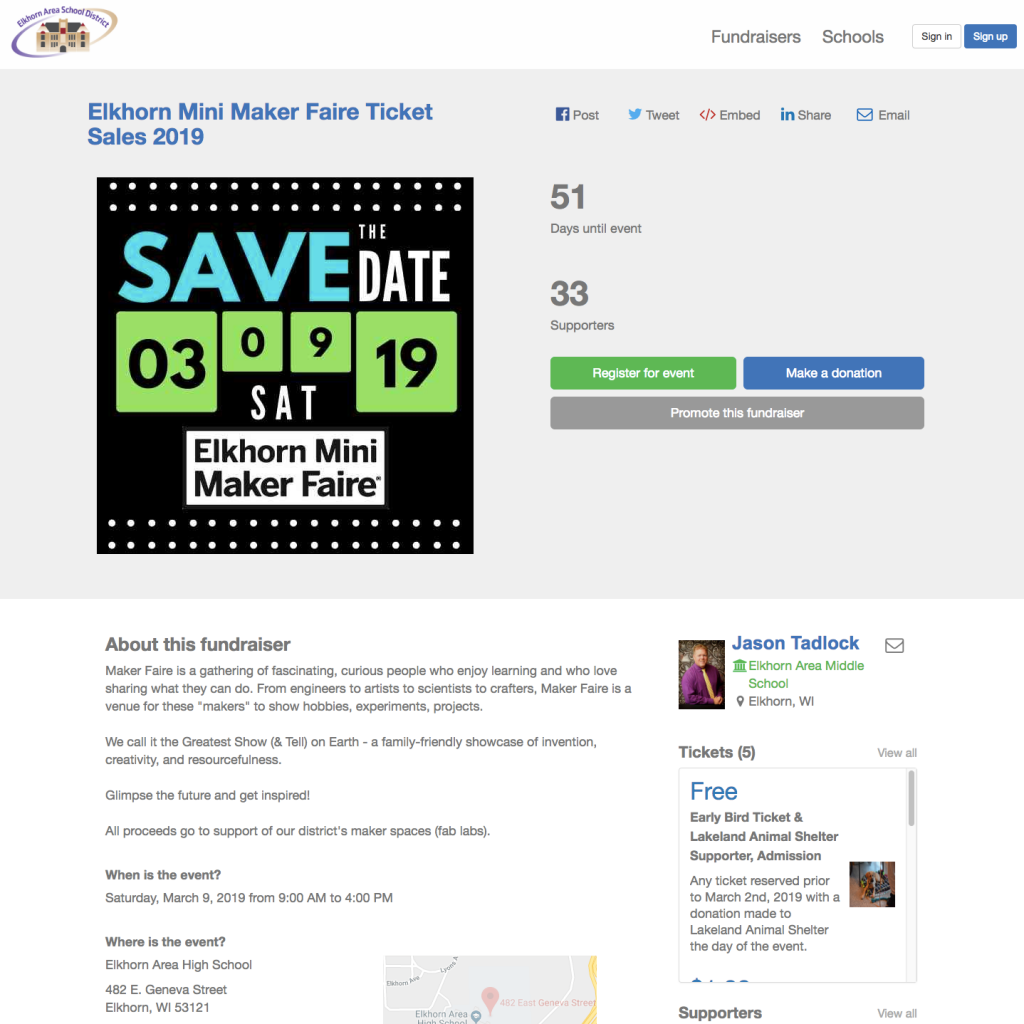
Step 7: Actions to take when event is live
When your event is live, there are several things you can now do. Two great ways to make your event gain more visibility is by utilizing Promoter Pages, a more customizable version of your fundraiser that promoters (students and community members) can create. You can also embed the campaign, a way to gain exposure by posting the registration page directly on other web pages and blogs.
Additionally, there is the ability to record any in-person (cash, check, or credit card) registrations and donations you receive, and details about this process are located here.
This is done on the campaign page in the donations table, and can also be done through the mobile app, which has many additional benefits of its own, including the ability to collect donations on the go, available as a free download on both the iOS and Android stores.

