Overview
The Classmunity platform enables you to manage the users able to record/refund/edit cash, check, and credit card donations. As the campaign creator you control who is authorized to record donations for your campaign. Additionally, school and district administrators with appropriate permissions can record donations. (Tip: Think about this section of your campaign as a digital “lockbox” and your payment processors are the people who can access that box).
Adding a Payment Processor on the Website
1. Sign into your Classmunity account and navigate to the campaign page.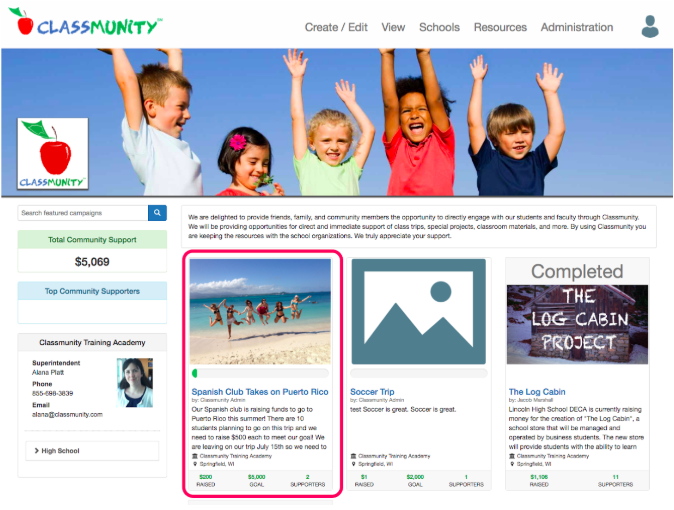
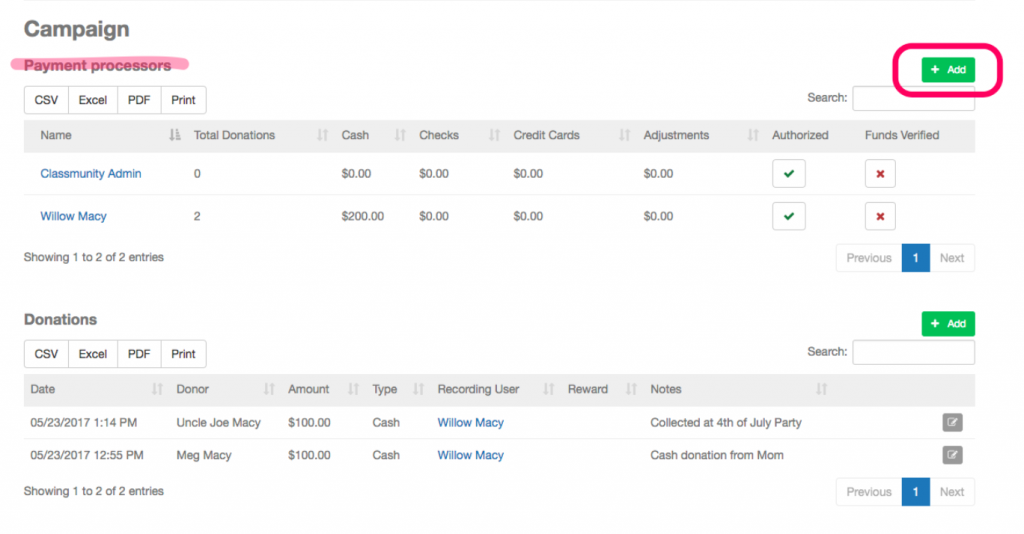
2. Scroll down to the donations table at the bottom of the campaign page (the table is only visible if you have permission to record a donation). Click on the “add” button.
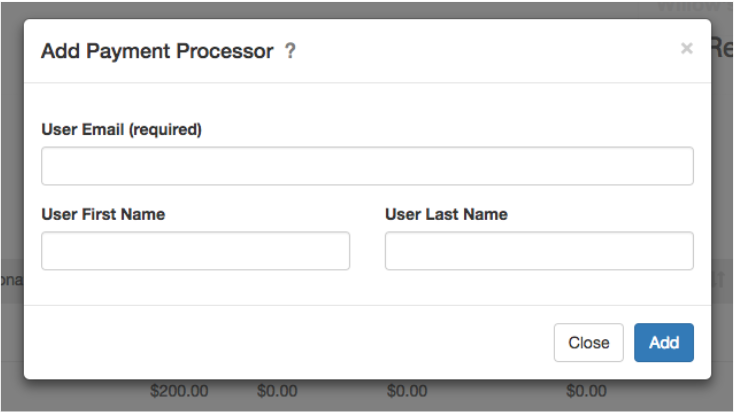
3. Complete the Payment Processor fields and then click add. If the user doesn’t have an account one will automatically be created.
Adding a Payment Processor Using the Mobile App
1. Download the Classmunity app from the app store.
![]()
![]()
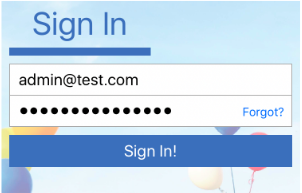
2. Sign in with your Classmunity account.
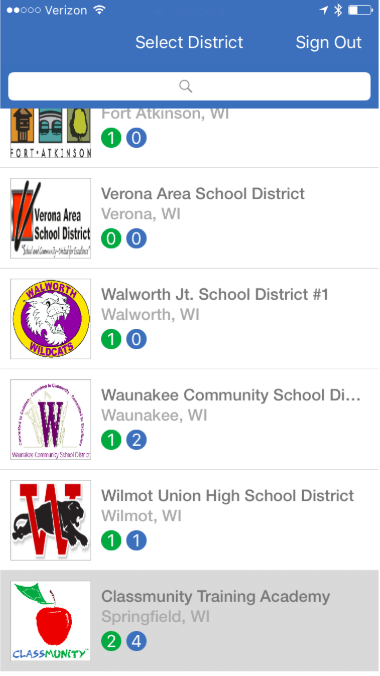
3. Select your school district from the district list.
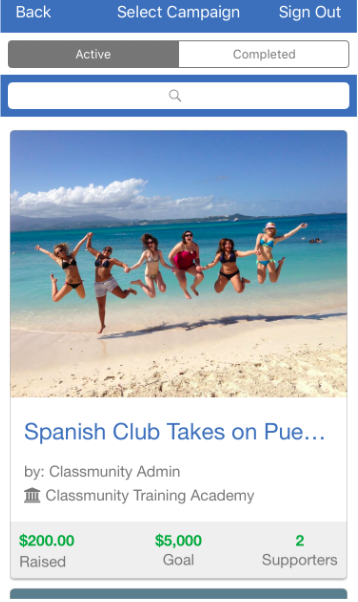
4. Select the campaign from the campaign list.
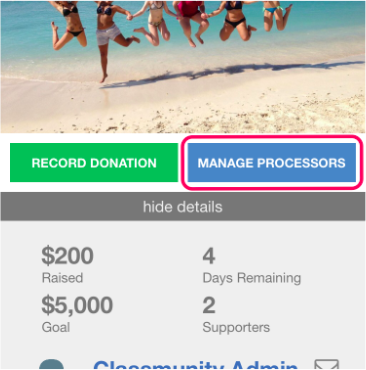
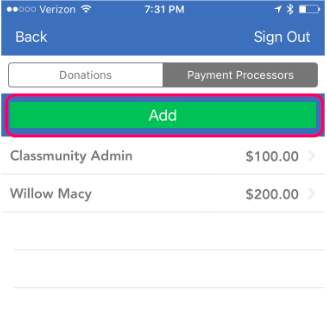
5. On the campaign screen, click on the “Manage Processors” button.
6. On the processor list screen select the add button.
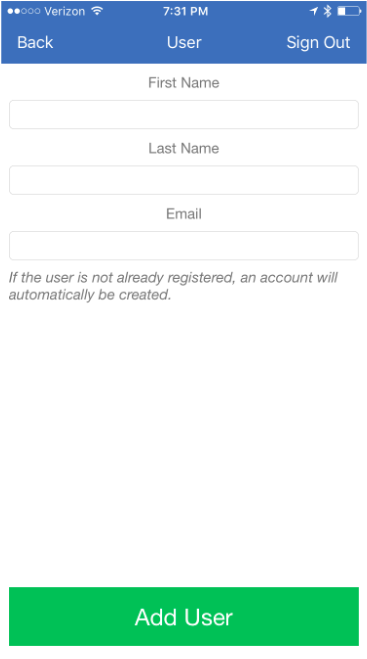
7. Complete the information fields and hit add.