Overview
The Classmunity platform enables you and your authorized payment processors to record/refund/edit cash, check, and credit card donations. As the campaign creator you control who is authorized to record donations for your campaign (see Managing Campaign Donation Processors). Additionally, school and district administrators with appropriate permissions can record donations.
Recording a Donation on the Website
TIP: The process of recording a ticket sale or marketplace sale to a campaign is done in the same way.
- Sign in to your Classmunity account and navigate to the campaign page.
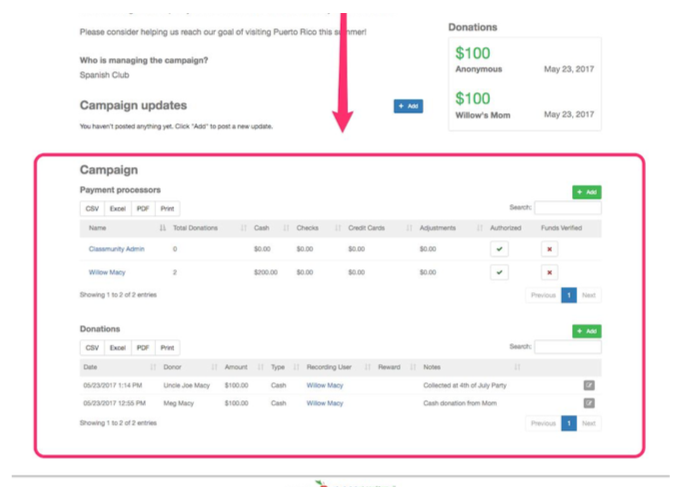
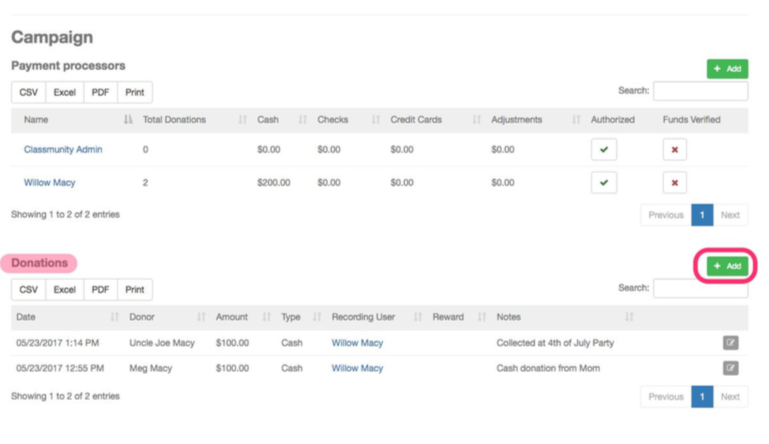
- Scroll down to the donations table at the bottom of the campaign page (the table is only visible if you have permission to record a donation). Click on the “add” button.
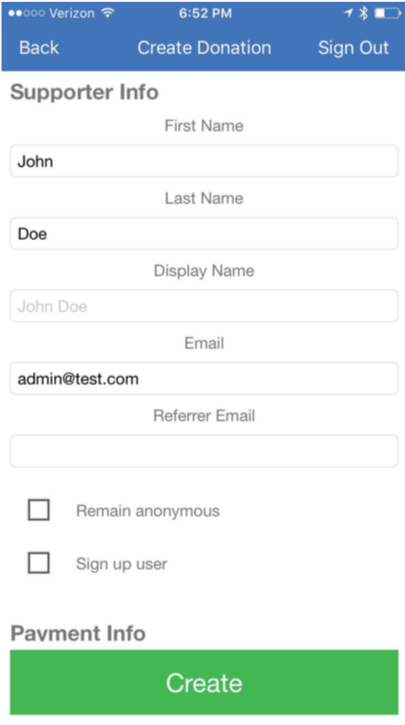
- Complete the Supporter Info fields and then click continue.

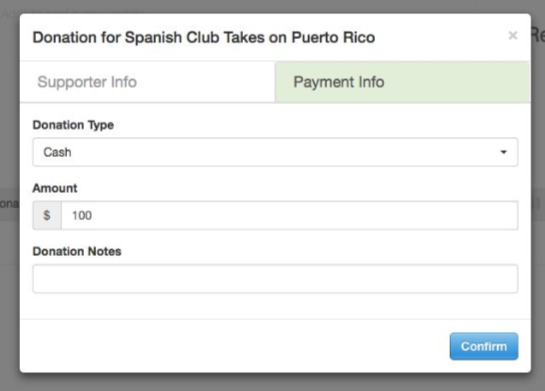
- Complete the Payment Info fields and click continue/confirm.
- (Optional) Complete the Reward Info fields as appropriate and click confirm to record the donation.
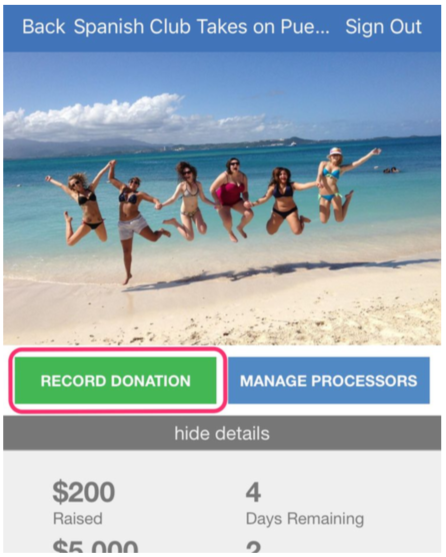
Recording a Donation Using the Mobile App
- Download the Classmunity app from the app store.


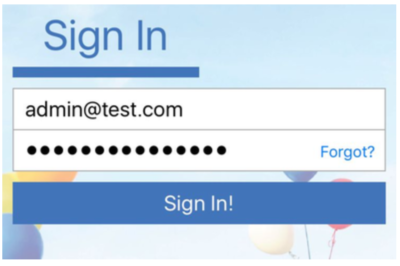
- Sign in with your Classmunity account.
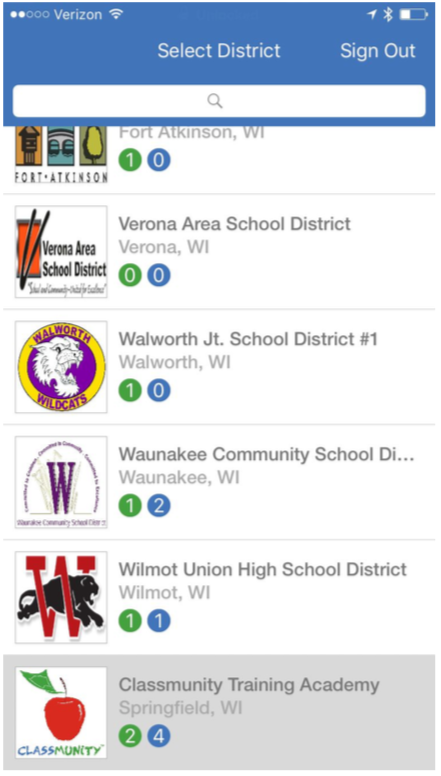
- Select your school district from the district list.
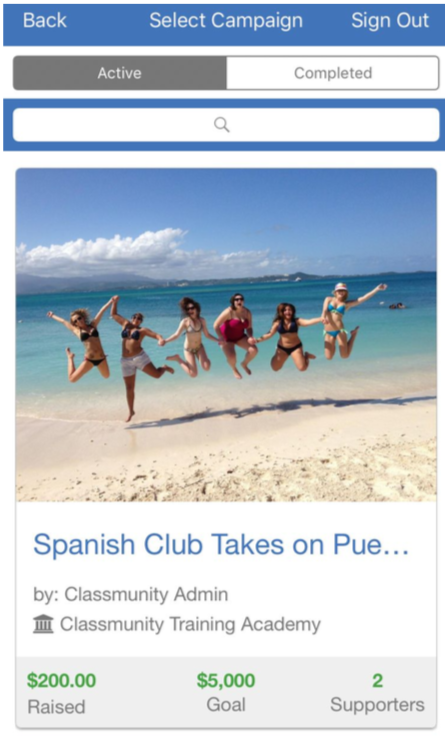
- Select the campaign from the campaign list.
- On the campaign screen, click on the “record donation” button.
- On the donation list screen select the dollar amount for the donation (or select other).
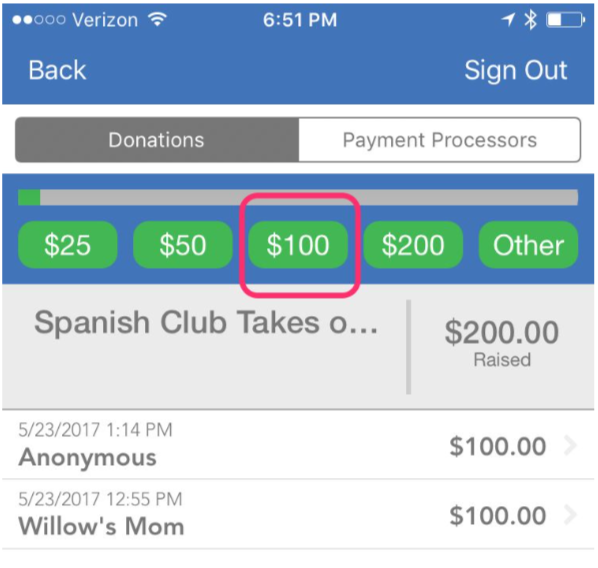
- Complete the donation fields and hit record/create to record the donation.