Content
Classmunity is committed to making sure that when your donors come to your micro-site, they know their money is going to your district. Your Classmunity platform can be customized to represent your district, and can be updated with current district branding over time.
How to Customize your Micro-site
To customize your micro-site, including changing the the general information, header images and administrator information displayed on the homepage:
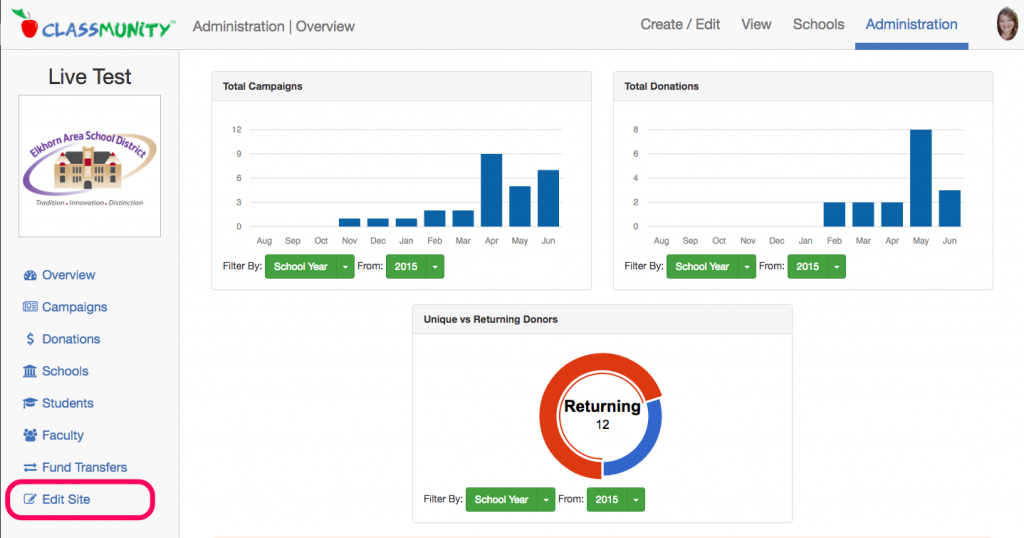
- Navigate to the administration dashboard.
- Select “Edit Site” panel on the left hand side of the admin dashboard.
General Settings – District Information
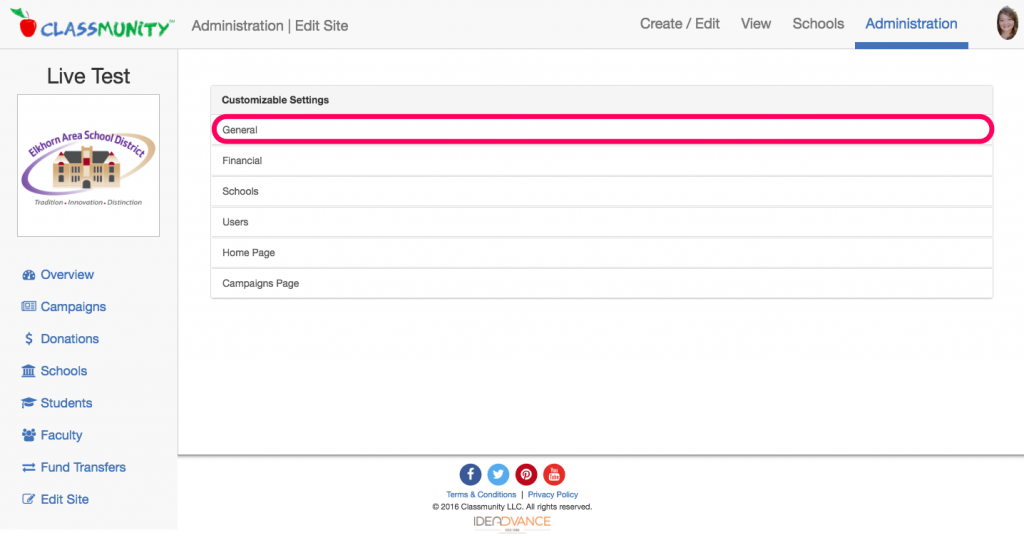
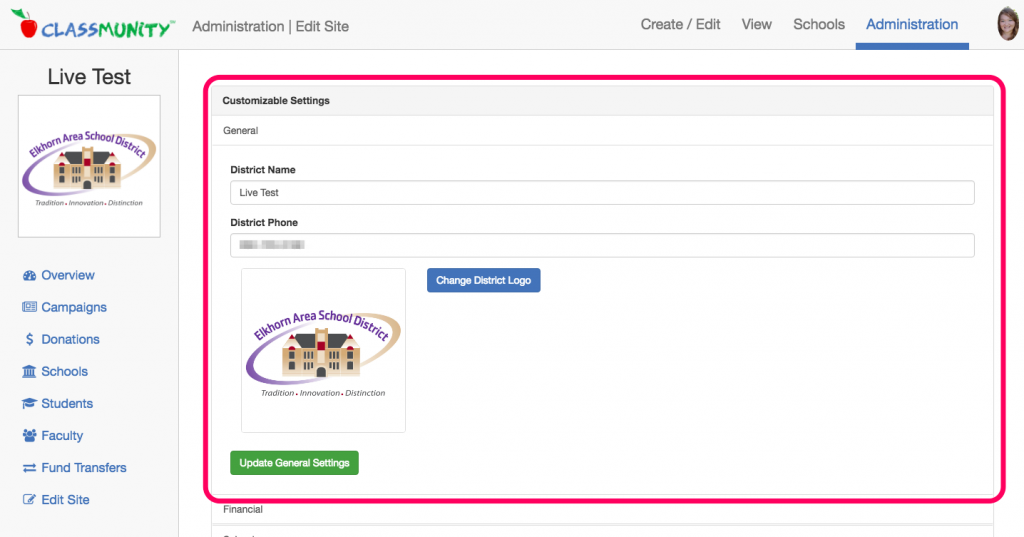
To change the general district information including the name, logo and phone number select “General” from the Customization settings wizard.
Here you will be able to set the name of the district that will show across the platform, as well as the logo that will show on each page. We recommend a logo that includes the district’s name.
Home Page Settings
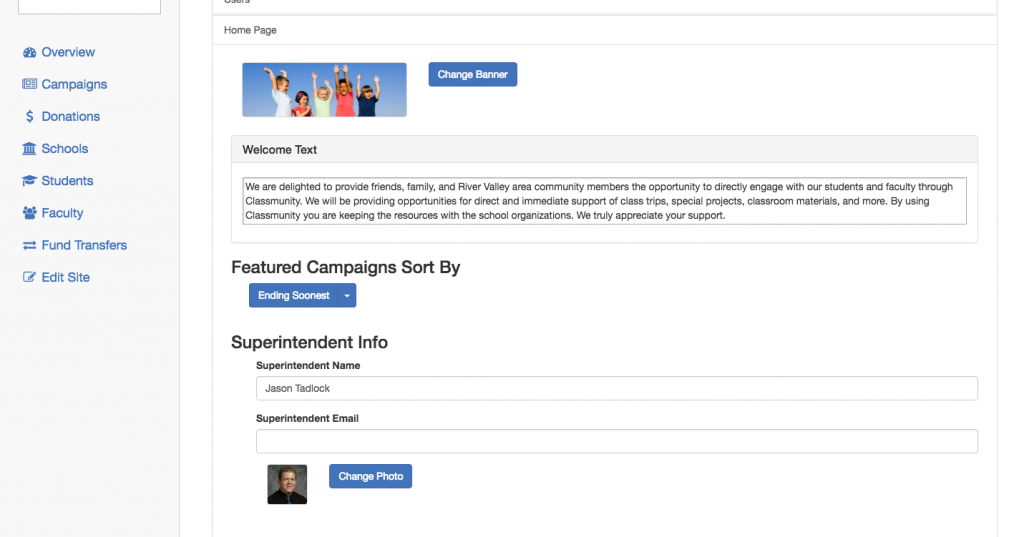
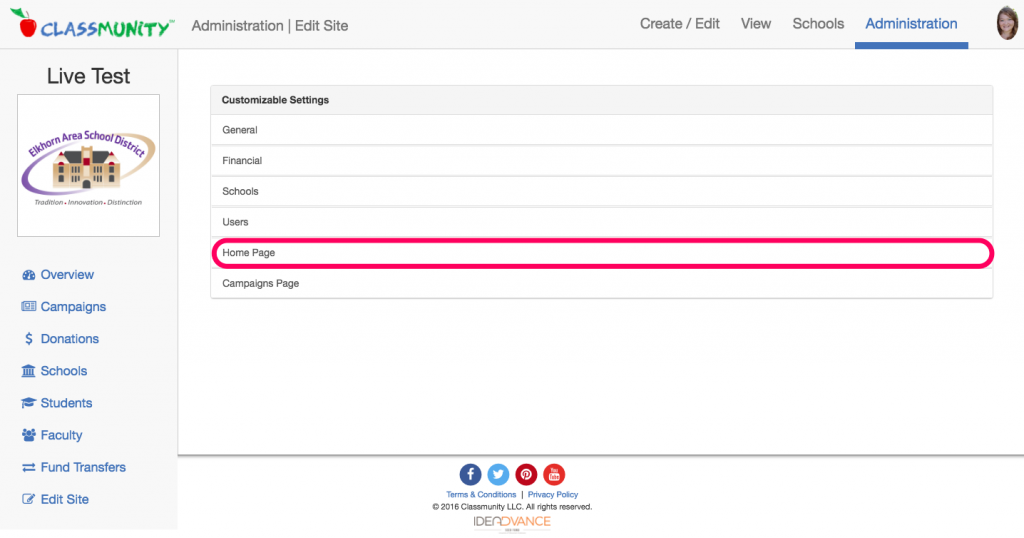
To change the homepage settings, including the administrator information displayed on the homepage and header image select “Home Page” from the Customization settings wizard.
 Here you will be able to customize the homepage of your platform. The settings include:
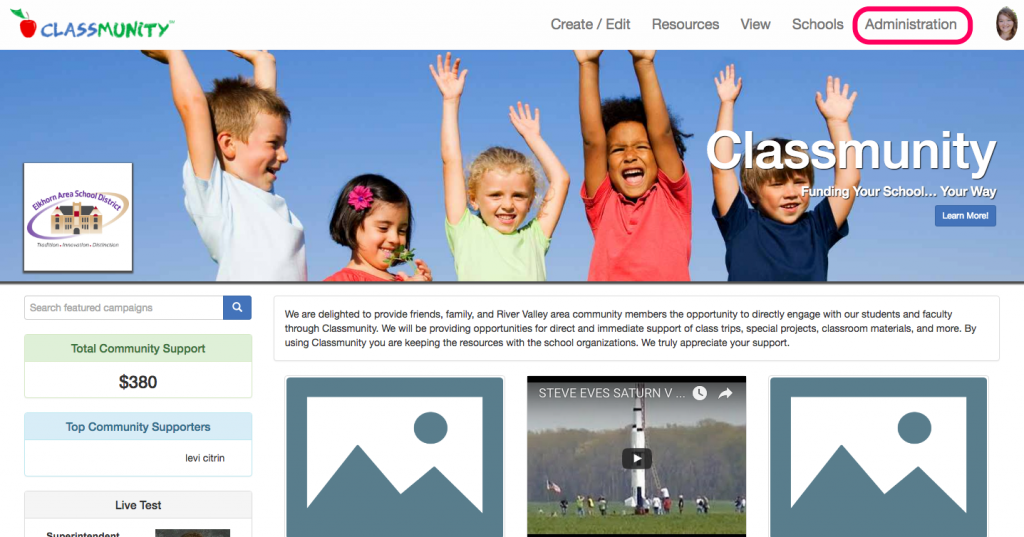
- Banner Image – The banner image shows above the campaigns and behind the district logo on the homepage.
- Welcome Text – This text, along with the banner image is the first thing that a donor will see when they visit your site.
- Featured Campaign Sorting – This drop down menu allows you to control how campaigns are displayed on the homepage.
- Superintendent and Principal Information – The information about the superintendent and principal information helps donors understand that this is a district controlled site, increasing the credibility of your micro-site, and providing them with a peace of mind.