
Content
Classmunity gives you the ability to create custom receipts at both the district and campaign level.
Editing the Default District Receipt
- Navigate to the administrator dashboard and then to the “edit site” panel in the left sidebar.
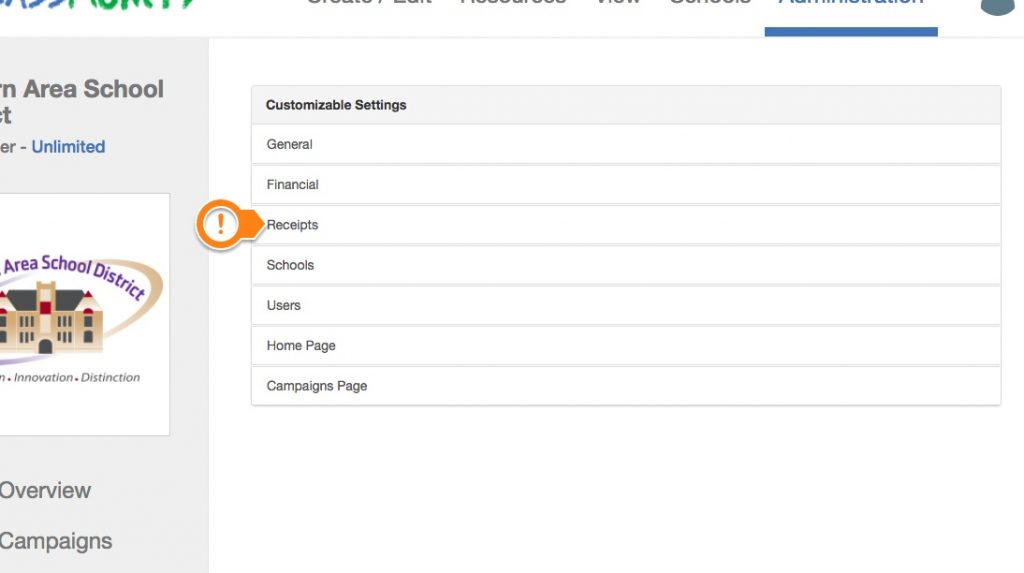
- Click on the receipts section of the customizable settings.
- Use the receipt wizard to customize what the receipt looks like to donors.

A. District Logo – Click this box to hide/show the school district logo.
B. District Tax ID – Click this box to hide/show the District Tax ID. The ID can also be edited.
C. Thank you Message – This message can be customized to let donors know how much their support is appreciated.
D. Donation Information – This section of the receipt provides the donor information about their donation to the district and is automatically generated with campaign information.
Editing the Campaign Specific Receipts
When creating a campaign on Classmunity, the default district receipt can be tailored to the specific needs of the campaign.
1. After entering the details and campaign options, the receipt wizard is editable in step 3 of creating a campaign.
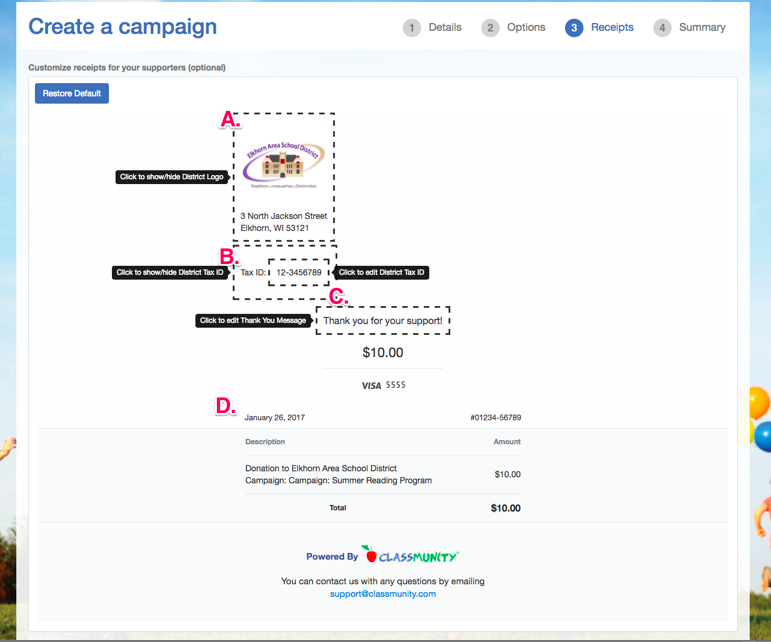
A. District Logo – Click this box to hide/show the school district logo.
B. District Tax ID – Click this box to hide/show the District Tax ID. The ID can also be edited.
C. Thank you Message – This message can be customized to let donors know how much their support is appreciated.
D. Donation Information – This section of the receipt provides the donor information about their donation to the district and is automatically generated with campaign information.

