
Overview
Campaigns are the public face of your fundraising projects on Classmunity. Your campaigns should communicate information about your fundraising effort including:
- How the campaign will help your students
- Campaign funding goals
- Campaign progress
- Campaign rewards (optional)
- Campaign fundraising events (optional)
Before your campaign launches it must be reviewed by and receive administrative approval. The platform provides tools and workflow for this process. For more information on how to review and approve a campaign please see the administrative guide.
Deciding Which Type of Fundraiser to Create:
When creating a fundraiser on your Classmunity platform you will need to choose the type of fundraiser you wish to run. Classmunity supports three different types of fundraisers, each of which are optimized for different situations. However, all three types of fundraisers allow your supporters to make cash, check, and credit card donations. Additionally, all fundraisers support custom receipts, payment processors, and promoter pages.
- Donation Campaign – Donation campaigns are your traditional online fundraisers giving you the option to offer your supporters donation based rewards.
- Event Registration – Organize your event-based-fundraisers with custom e-tickets. You can create your own registration forms to easily manage event registration. Community members who can’t attend the event can still support your fundraiser with online donations.
- Online Market – Run your product-based-fundraising online. With an online market fundraiser you can sell your products directly online as well as record in-person sales. Additionally, community members can make online donations if they are not interested in purchasing a product.
Creating a Fundraiser
Classmunity provides an easy to use wizard for creating and editing campaigns. To create a campaign, you must be in logged into your districts/school Classmunity micro-site with a teacher or administrator account.
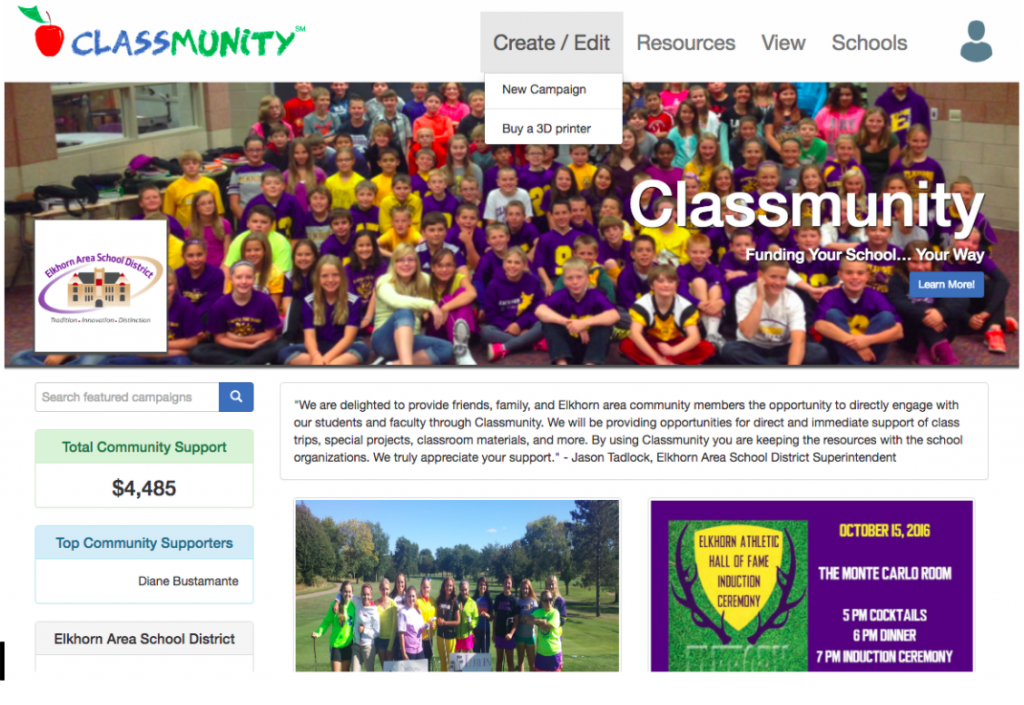
Navigate to your school district’s Classmunity micro-site and click on the sign in button. If you do not have a Classmunity account, click on the sign up button to create an account. After you have logged in as a teacher or administrator, you will be able to open the fundraiser creation wizard by clicking on Create/Edit in the navigation bar and selecting either New Fundraiser or the fundraiser you wish to edit.1. Log into your Classmunity Account
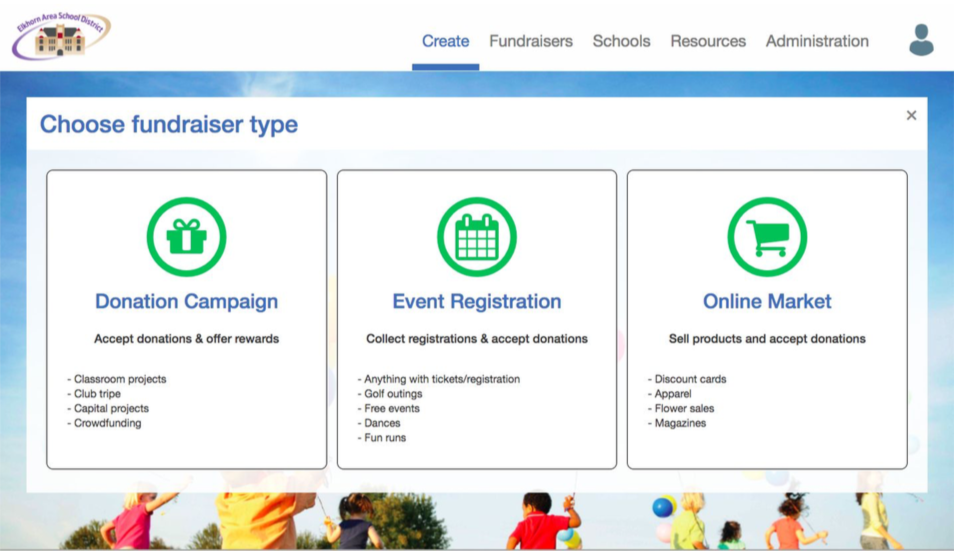
2. Select Fundraiser Type
There are three options to choose from when setting up your fundraiser in Classmunity. Each one provides your donors with a unique experience. The three types are donation campaign, event registration and online market. The different fundraiser types have different types of items that can be created. Donation campaigns can offer rewards, event registrations can provide e-tickets to the event, and online markets can have products available for purchase.
3. Add Content
The content of your fundraiser will help provide administrators and donors with explanations like: why you are seeking funding, how much funding you are looking for, how this fundraiser will benefit the students, and so on.
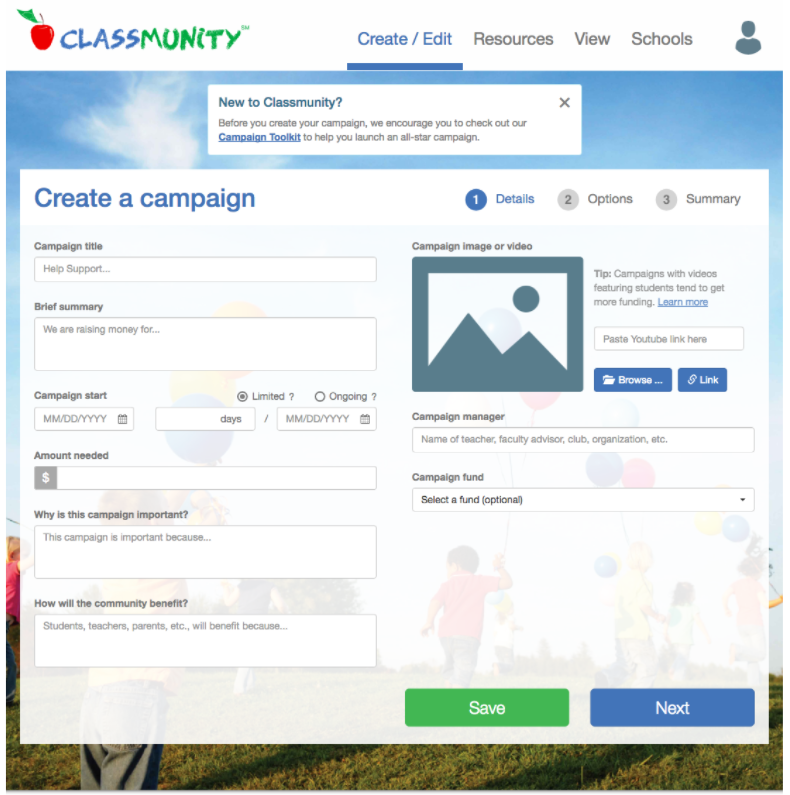
The first tab of the campaign creation wizard contains the following fields:
- Title: Your fundraiser’s name that will appear on your fundraiser’s page district’s microsite. The name should describe the goal you are trying to reach.
- Brief Summary: Summarize your fundraiser, why you are raising the money, and any other relevant information.
- Fundraiser Start: The start date that your fundraiser. Once approved, donors will be able contribute to your fundraiser.
- Limited vs Ongoing: A limited fundraiser has an end date. An ongoing fundraiser does not have an end date and will remain active until you manually end it.
- Amount Needed: Your fundraiser’s goal.
- Fundraiser Manager: The person or group managing the fundraiser. If your fundraiser is being run by a booster club or student organization this is perfect place to mention the organization (e.g. “Women’s Soccer Team” or “High School Booster Club”).
- Fundraiser Fund: The bank account that all settled credit card donations will be deposited into on the first and fifteenth of the month. Bank accounts are registered by your district’s administrators through the classmunity admin panel.
- For Event Registration:
- Event Title – The name of your event.
- Event Description – A description for the event containing pertinent event information.
- Event Date – The date(s) of your event.
- Event Time – The time of your event.
- Event Location (Optional) – The location of your event such as a building name or room
number.
- Event Address (Optional) – The address of your event’s location.
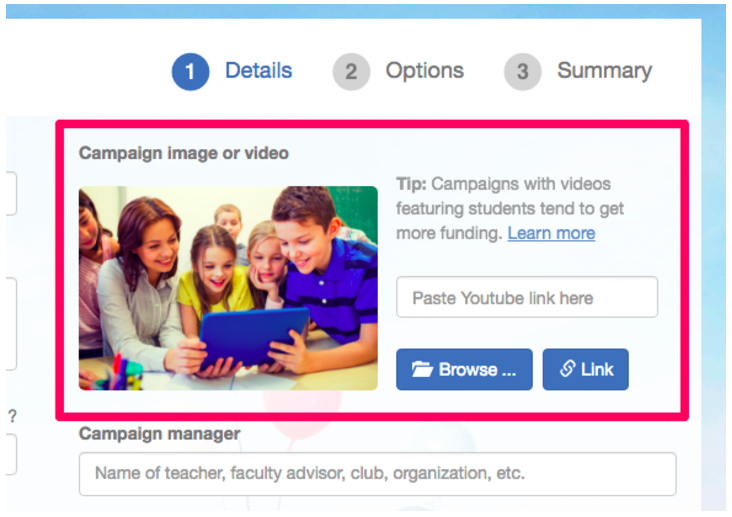
4. Include a visual aid
It’s important to a visual aid for you fundraiser, either a custom image or video. We allow you to either upload your video directly or provide a link to a video hosted on YouTube.
While adding a visual aid is not required, we highly recommend it. Most donors would rather watch a short video describing your cause. Creating the video can be a learning experience for
5. Create rewards, tickets or products:
Depending on the type of fundraiser you can offer rewards, e-tickets, or products. Donation campaigns can offer rewards, event registrations provide e-tickets, and online markets have products available for purchase.
Donation Campaign Rewards:
Offering rewards for your fundraiser is optional. Rewards can be anything from a personalized thank you card or social media shout-out to t-shirts or an elaborate gift.
Like your fundraiser goal, rewards should be reasonable and help motivate your supporters. Be sure to include how you will be distributing the rewards in the reward description.
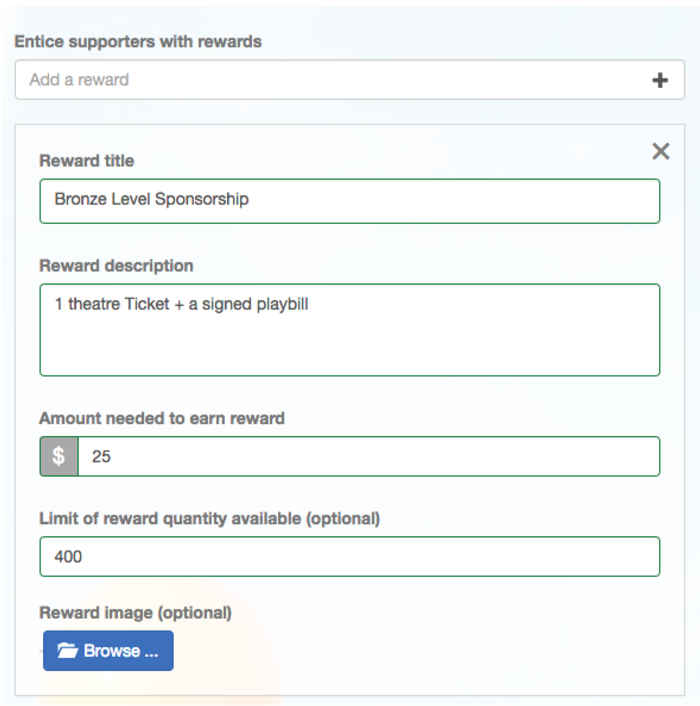
To add a reward, click + sign and complete the following fields:
- Reward Title – A concise title for the reward.
- Reward Description – A short description of the reward. This should be no longer than 1 sentence. If the reward requires a longer explanation, consider adding additional details within the campaign description field.
- Amount Needed to Earn Reward – The dollar amount required to receive the reward. This can be set to $1 if you would like to provide every donor with the reward.
- Limit of Reward Quantity Available (optional) – This allows you to set an optional limit to the quantity of the reward available. The Classmunity platform will automatically track the quantity remaining.
- Reward Image (optional) – You can provide a small thumbnail image for the reward.
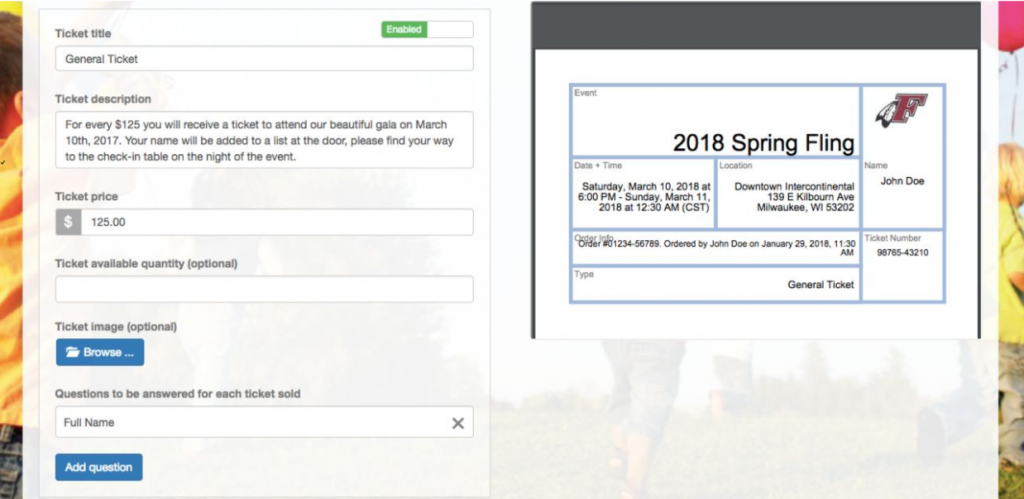
Event Registration Tickets:
Offering tickets to your fundraising event is optional and completely up to you. Tickets can be free or paid. Purchased tickets will be emailed as an attachment to the receipt.
- Ticket title
- Ticket description
- Ticket price
- Ticket available quantity (optional)
- Ticket image (optional)
- Questions to be answered for each ticket sold – Set up questions for the purchaser to
answer. (ex. Name, meal preference, address for delivery)
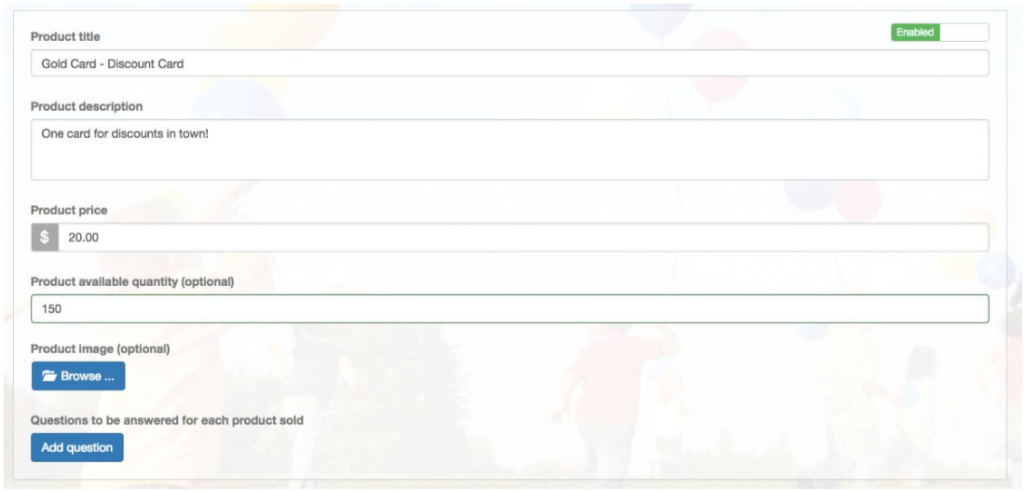
Online Market Products:
Create products to sell as part of your fundraiser. Your fundraiser will automatically track track all orders. Products can be anything from discount cards to pretzels or popcorn.
- Product title
- Product description
- Product price
- Product available quantity (optional)
- Product image (optional)
- Questions to be answered for each product sold – Set up questions for the purchaser to
answer. (ex. Size needed, address for delivery, color wanted)
Additional Campaign Options
On the summary tab of the campaign creation wizard you can view a preview of your campaign page as well as set the following options:
- llow everyone to view campaign and make donations once approved.
- Email Settings (Optional) – Select this option to receive periodic email updates about the status of your campaign.
- Preset Donation Amounts (Optional) – You can change the default preset donation amounts. Depending on your campaign it may make sense to set the donation amounts based on the cost of specific rewards.
- Require Donors to Cover Processing Fees (Optional) – Selecting this option will require that credit card donations include credit card processing and Classmunity fees.
- Twitter Settings (Optional) – You can connect your Twitter account to automatically tweet campaign updates and provide thank you messages to your supporters.
Campaign Review and Approval
Once you have completed creating your campaign it is submitted for review and approval by an administrator. Your district/school administrator will automatically receive an email informing them that your campaign is ready for review. For more information on the review process, please see the administrator toolkit.
Once approved your campaign will automatically “go-live” on the campaign start date.

