Overview
Campaigns are the public face of your fundraising projects on Classmunity. Your campaigns should communicate information about your fundraising effort including:
- How the campaign will help your students
- Campaign funding goals
- Campaign progress
- Campaign rewards (optional)
- Campaign fundraising events (optional)
Before your campaign launches it must be reviewed by and receive administrative approval. The platform provides tools and workflow for this process. For more information on how to review and approve a campaign please see the administrative guide.
Creating a campaign
Classmunity provides an easy to use wizard for creating and editing campaigns. To create a campaign, you must be in logged into your districts/school Classmunity micro-site with a teacher or administrator account.
Student accounts are not currently able to create campaigns. However, students can promote campaigns on their student pages and accept donations using the Classmunity mobile app.
- Log into your School/District Classmunity micro-site.
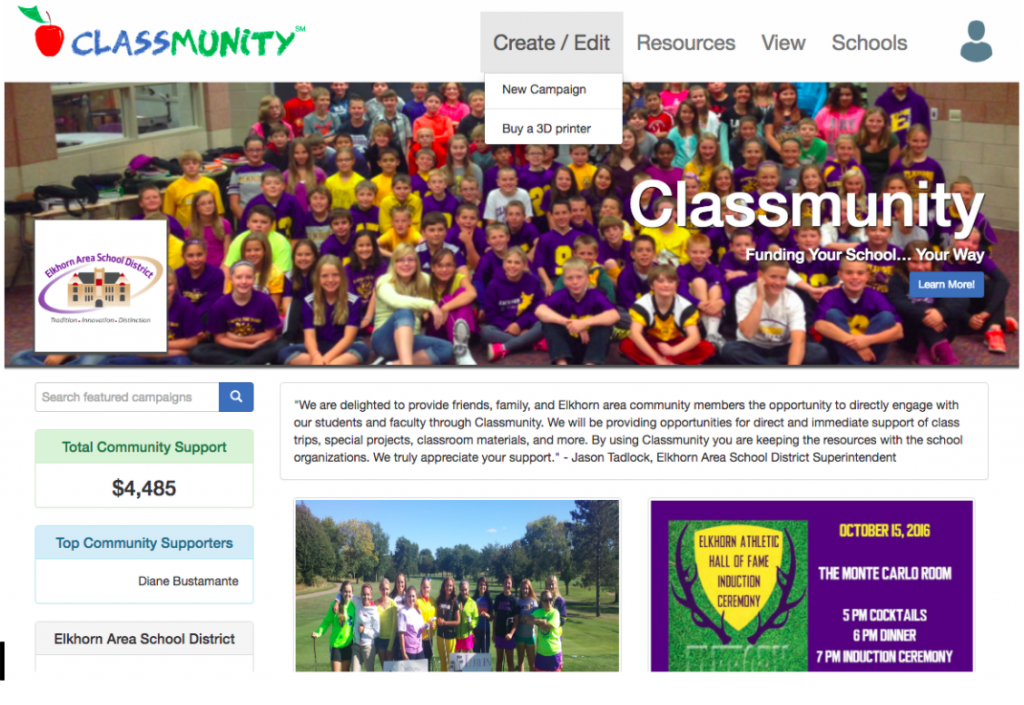
- Open the campaign creation wizard by clicking on Create/Edit in the navigation bar. Select New Campaign to create a new campaign or you can select an existing campaign to edit.
Adding Content to your campaign
The campaign creation wizard will walk you through the steps of creating and populating your campaign. You can always return to the wizard and update/edit the content of your campaign.
Tip: When developing content for your campaign try to be concise and use active language. Donors are more likely to support campaigns when they understand the impact of their donation.
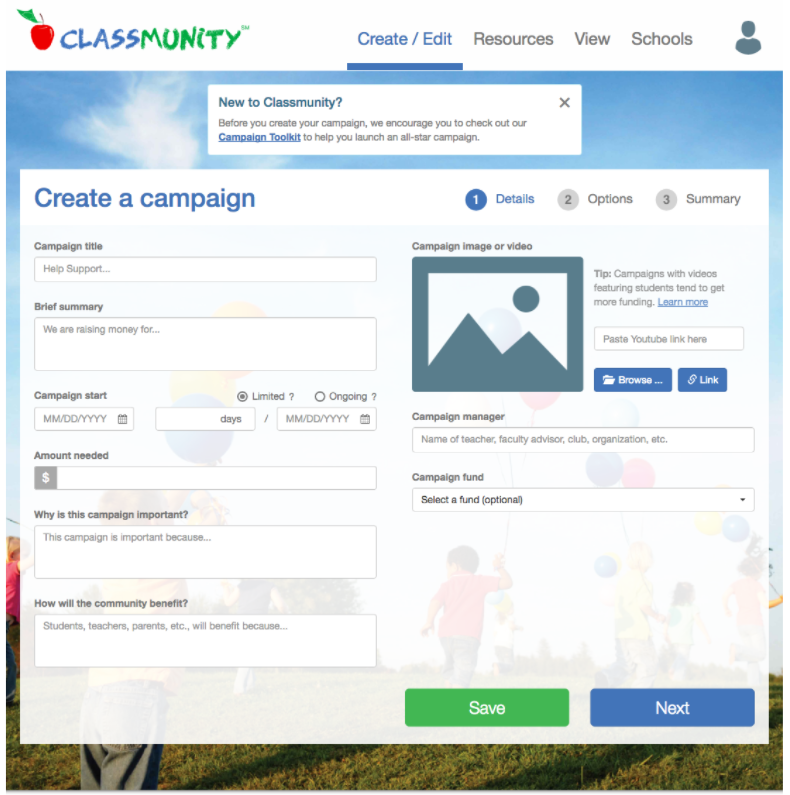
The first tab of the campaign creation wizard contains the following fields:
- Campaign Title – This is the name of your campaign and will appear on the campaign page. The name should encapsulate your fundraising goal without being to lengthy.
- Brief Summary – A brief explanation of the campaign, including what the money raised will support.
- Campaign Start – Your campaign’s start date. Approved campaign’s automatically “go live” on their start date.
- Limited vs Ongoing – Limited campaigns have predetermined end dates and only run for a specified period. Ongoing campaigns do not have predetermined end dates and will run until they are manually ended. The nature of your campaign will dictate whether you choose limited or ongoing. Choosing limited is appropriate for most campaigns.
- Amount Needed – Your campaign’s fundraising goal. Setting a reasonable and obtainable goal is important. An excessively large goal may deter potential donors.
- Why is this Campaign Important – This field is for providing additional details about the importance of your campaign.
- How will the Community Benefit – This field is for providing additional details about how the community or your students will benefit from this campaign.
- Campaign Manager – The individual or group managing the campaign. While the campaign creator’s information will automatically display on the campaign page this field allows you to specify an organization that may be sponsoring or running the campaign. For example, the “Women’s Soccer Team” or “High School Booster Club”.
- Campaign Fund – This is the bank account into which your campaign’s credit card donations will be automatically deposited. You can select from a list of bank accounts that have been registered with your Classmunity platform. This field is optional for the campaign creator and can be set by an administrator through the administrator dashboard. If no bank account is selected credit card donations will be deposited into your Classmunity platform’s default bank account.
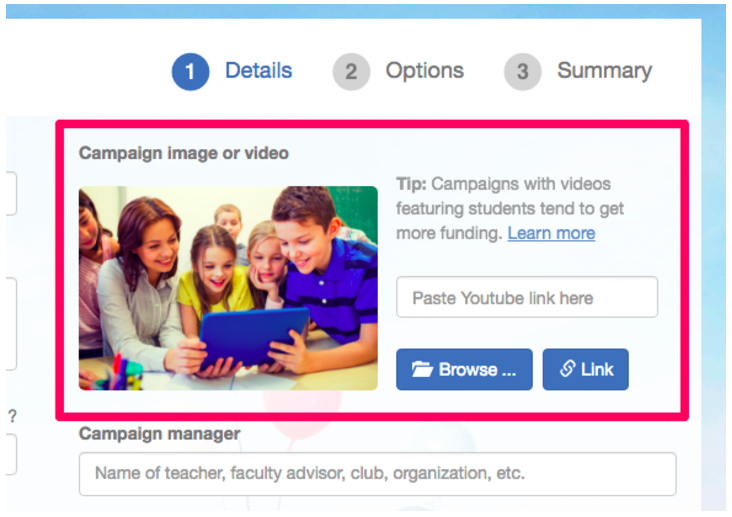
- Including an Image of Video (optional) – You can include either an image or short video at the top of your campaign page. The Classmunity platform allows you to either directly upload an image/video or provide a link to a video hosted on YouTube. While optional, including an image or video is highly recommended.
Adding Rewards to Your Campaign
On the Options Tab of the campaign creation wizard you can add rewards to your campaign. Although providing your donors with a reward is optional it can be a powerful motivator. Rewards can be anything from a t-shirt to concert/musical tickets or as simple as a thank you message on social media.
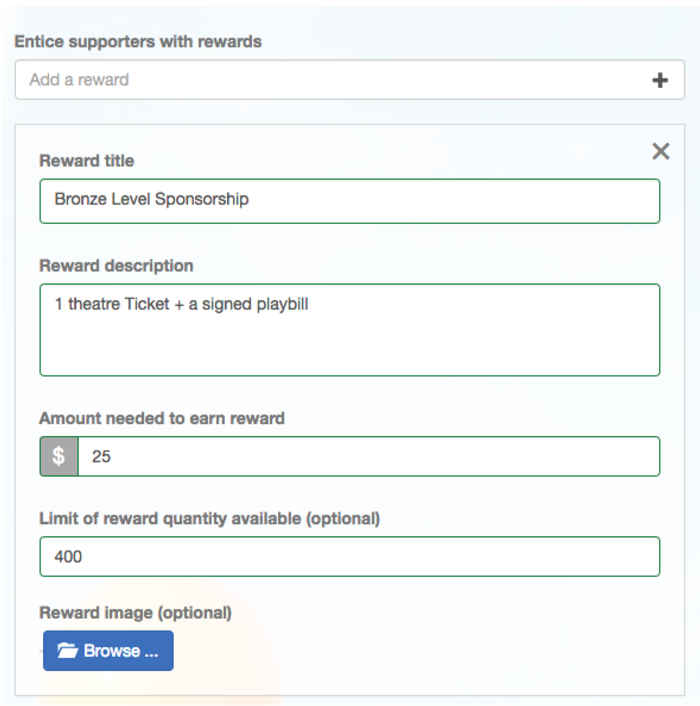
To add a reward, click + sign and complete the following fields:
- Reward Title – A concise title for the reward.
- Reward Description – A short description of the reward. This should be no longer than 1 sentence. If the reward requires a longer explanation, consider adding additional details within the campaign description field.
- Amount Needed to Earn Reward – The dollar amount required to receive the reward. This can be set to $1 if you would like to provide every donor with the reward.
- Limit of Reward Quantity Available (optional) – This allows you to set an optional limit to the quantity of the reward available. The Classmunity platform will automatically track the quantity remaining.
- Reward Image (optional) – You can provide a small thumbnail image for the reward.
Adding events to Your Campaign
Members of the community can visit your campaign 24/7 and contribute online. However, your fundraising effort may also involve a live fundraising event. Adding these event(s) to your campaign allows you to independently track money raised at the event(s) while also including the funds in your campaign’s fundraising total. Additionally, you can recruit and authorize volunteers (teachers, students, or parents) to help collect donations at the fundraising event using the Classmunity Apple or Android App.
If you anticipate accepting cash and check donations for your campaign (outside of a separate fundraising event) you can create an event called “Cash and Check” to record these donations.
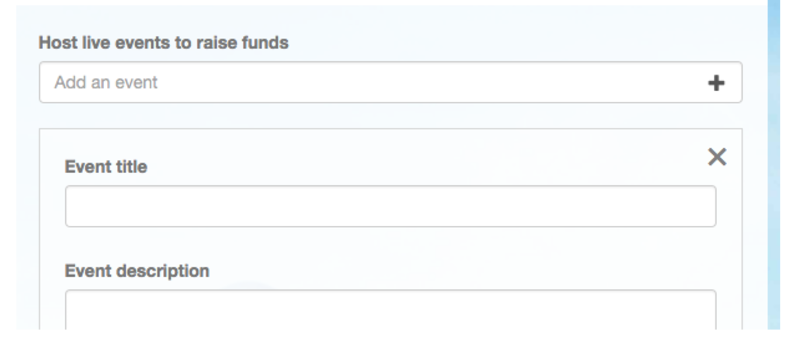
To add an event, click the + sign and complete the following fields:
- Event Title – The name of your event.
- Event Description – A description for the event containing pertinent event information.
- Event Date – The date(s) of your event.
- Event Time – The time of your event.
- Event Location (Optional) – The location of your event such as a building name or room number.
- Event Address (Optional) – The address of your event’s location.
- Users Authorized to Process Payments – Additional volunteers (teachers, students, parents) who are authorized to collect donations at the event. Only volunteers that you explicitly authorize can collect/record donations. To authorize an individual, enter the email address they used to create their Classmunity account.
- Publicly Display Funds Raised from any Live Events – Select this option to include donations raised as part of the event the campaign’s total and donor list. Most of the time you will want to select this option.
Before you can authorize a volunteer to collect donations for your campaign they must first create a Classmunity account. Classmunity automatically creates an audit trail of all donations so it is important that your volunteers use their own Classmunity accounts when recording donations.
Additional Campaign Options
On the summary tab of the campaign creation wizard you can view a preview of your campaign page as well as set the following options:
- Email Settings (Optional) – Select this option to receive periodic email updates about the status of your campaign.
- Preset Donation Amounts (Optional) – You can change the default preset donation amounts. Depending on your campaign it may make sense to set the donation amounts based on the cost of specific rewards.
- Require Donors to Cover Processing Fees (Optional) – Selecting this option will require that credit card donations include credit card processing and Classmunity fees.
- Twitter Settings (Optional) – You can connect your Twitter account to automatically tweet campaign updates and provide thank you messages to your supporters.
Campaign Review and Approval
Once you have completed creating your campaign it is submitted for review and approval by an administrator. Your district/school administrator will automatically receive an email informing them that your campaign is ready for review. For more information on the review process, please see the administrator toolkit.
Once approved your campaign will automatically “go-live” on the campaign start date.